Early in September I received the following email in response to one of my ads:
 “I bought a beautiful old Greenwood canoe this past spring we thoroughly enjoyed it with the family. Unfortunately that freak storm knocked the top off a large oak tree and tore a hole in the front 8-10″ of this old beauty. Please let me know what you can do to help us out I would sure like to have it repaired and restored. Send me a reply, I have lots of before and after photos so you can have a look & give me an idea of what can be done. Cheers, Mike”
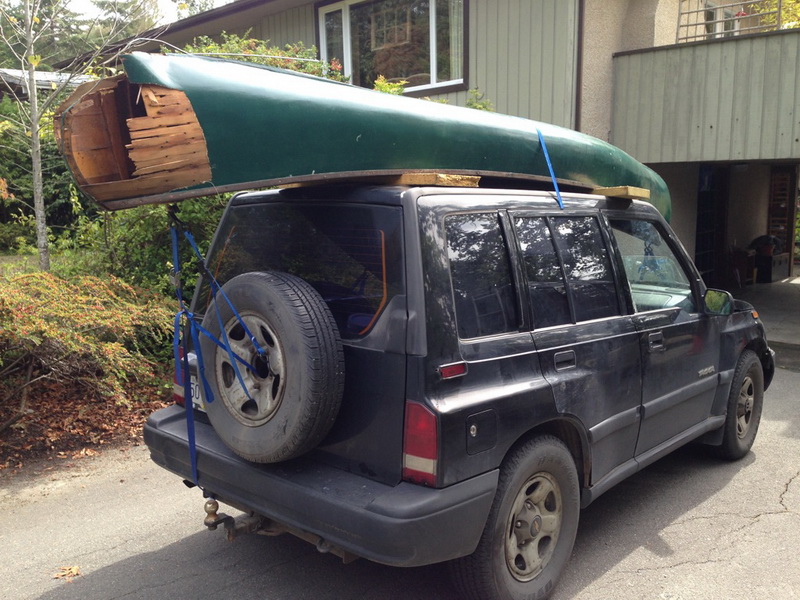
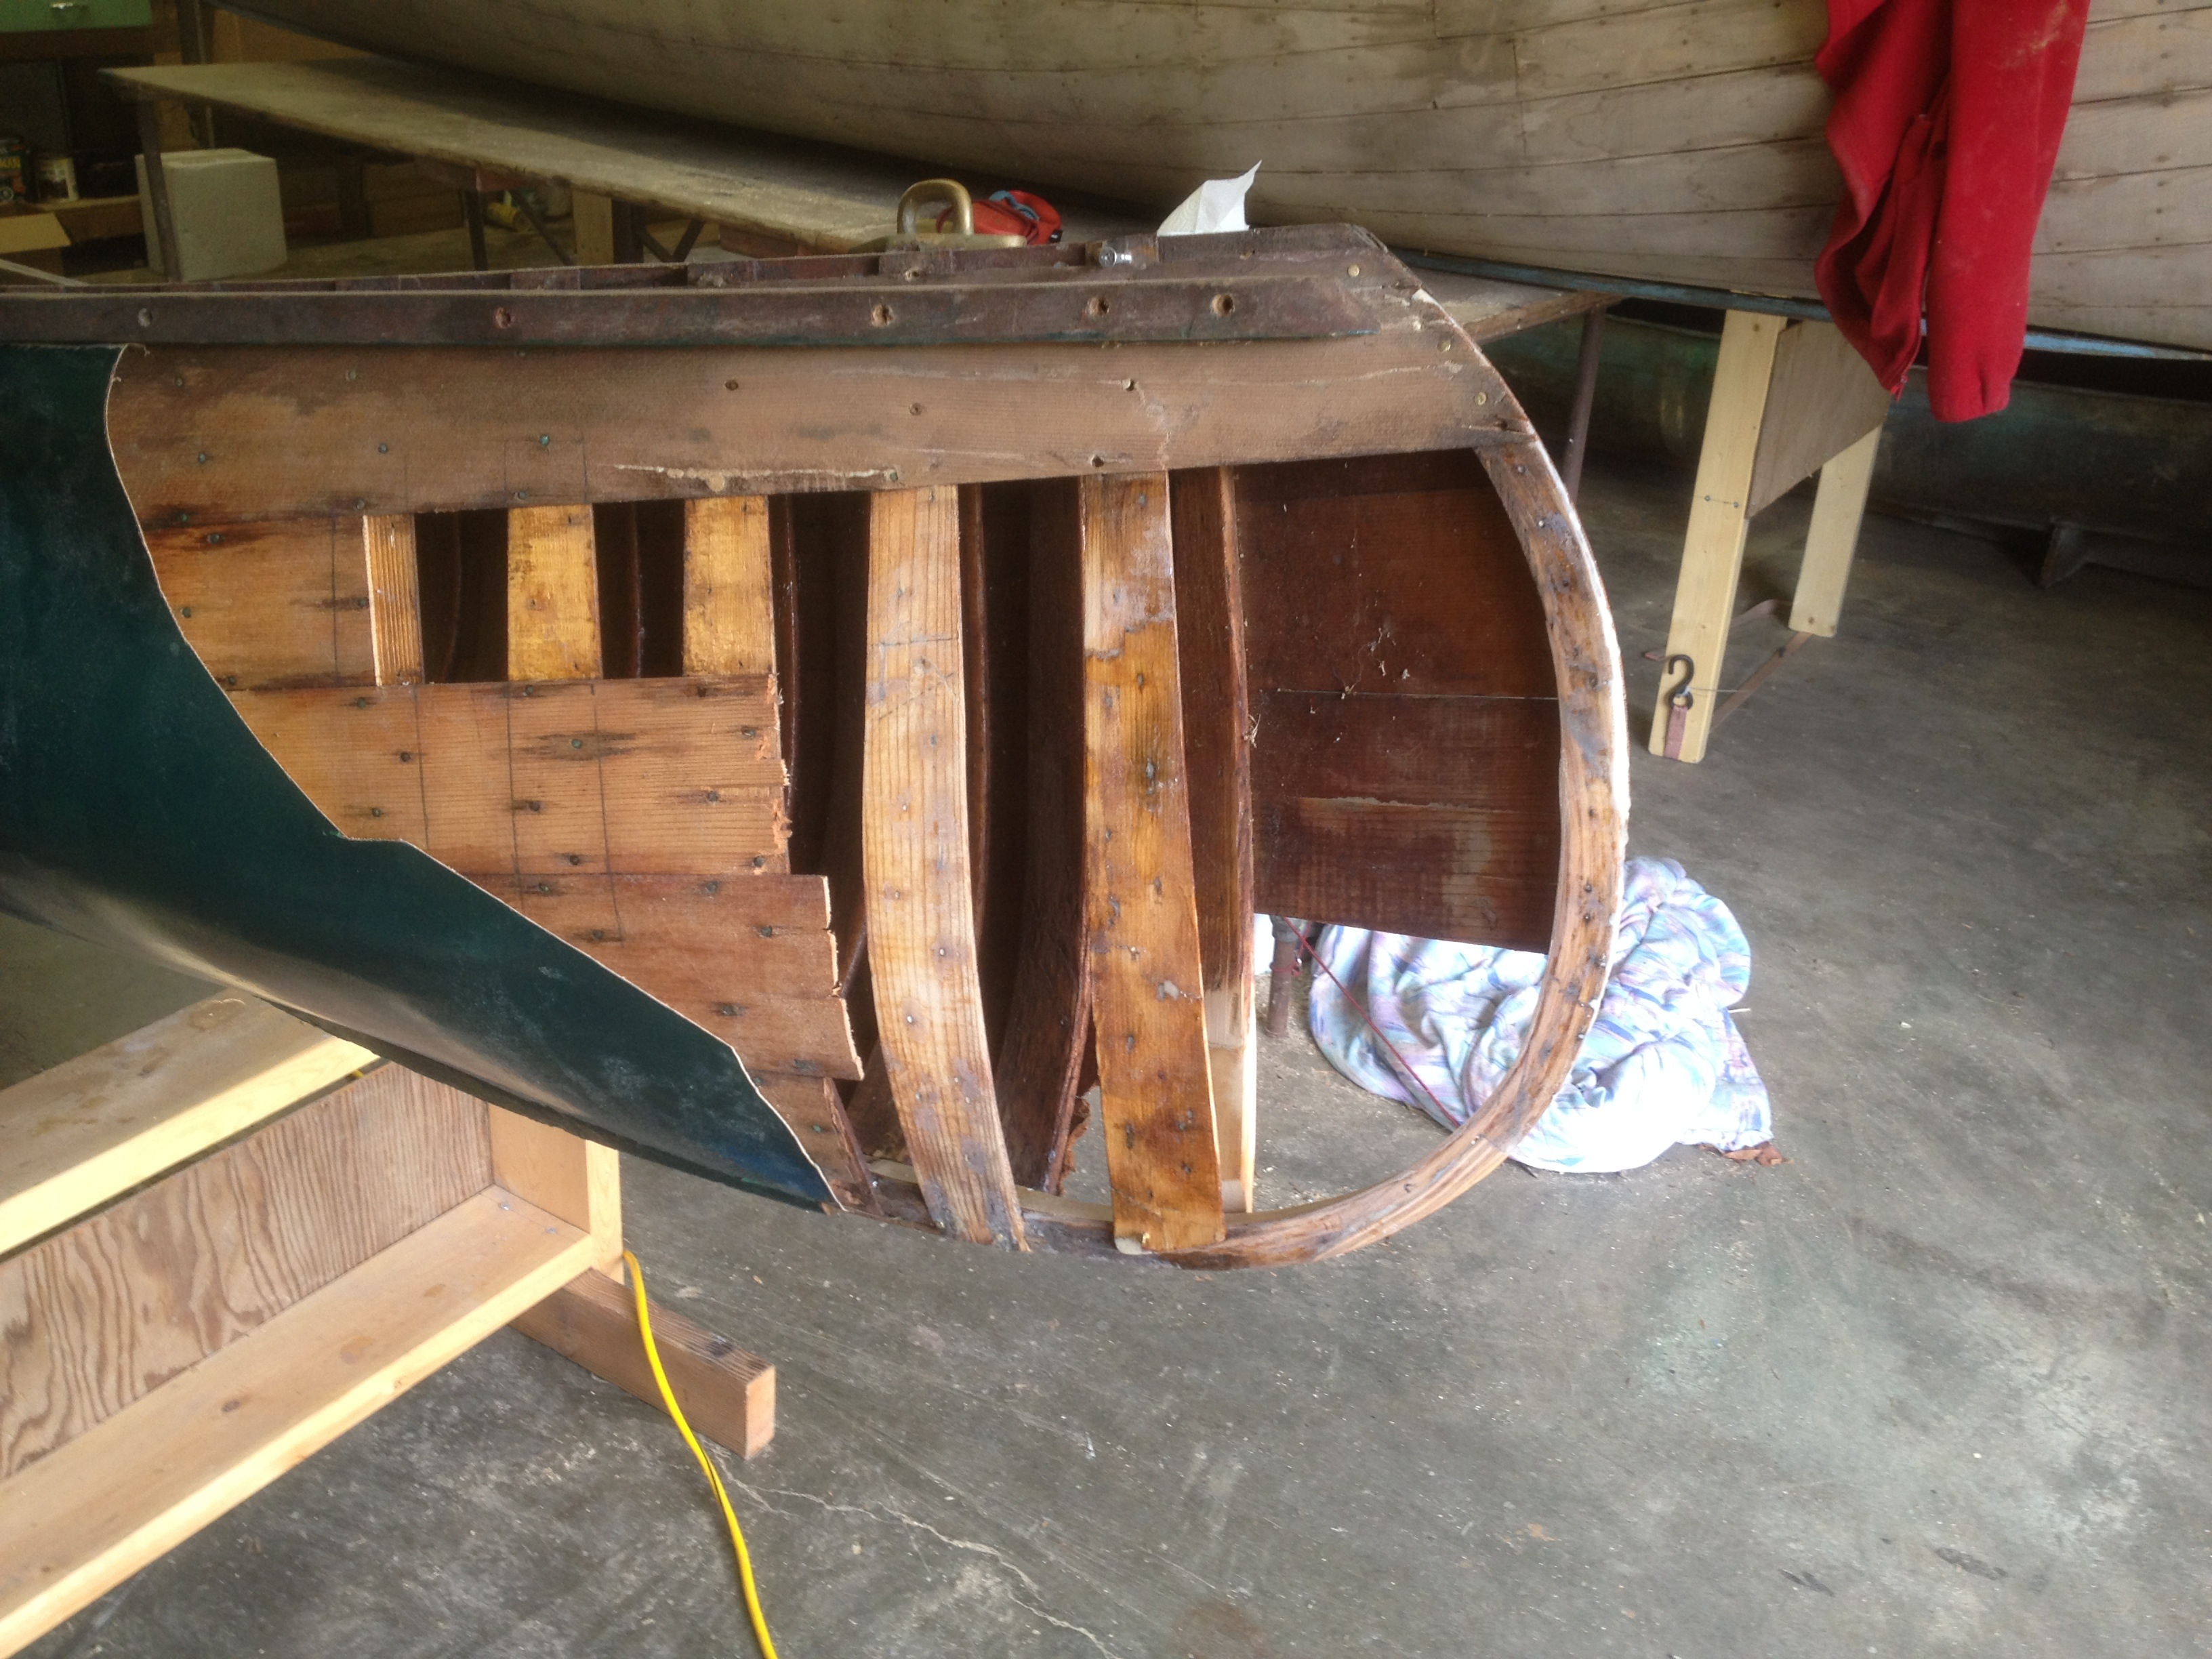
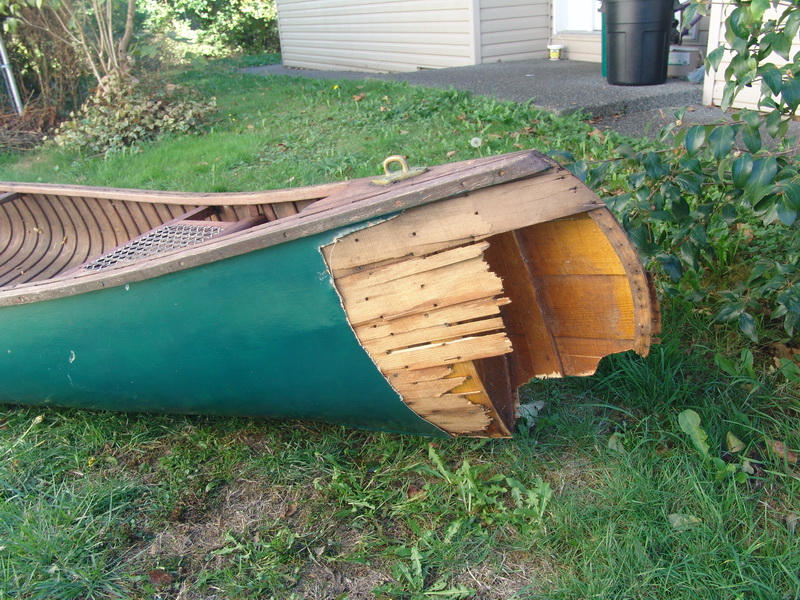
 Mike later sent me some photos and indeed his Greenwood was a beauty. A few days later I went down Sidney to take a look. The family had only had this beauty for one summer but she was obviously already a member of the family. They’d discovered the magic that is a cedar and canvas canoe. The canoe it’s self was in near perfect condition, except, that is, for the gaping hole in the stern. The falling tree had not only shattered the planking, destroyed several ribs, and fractured the inwale, but in had broken the stem into multiple pieces. Other then a few damaged planks, there was essentially nothing left of the canoe’s stern.
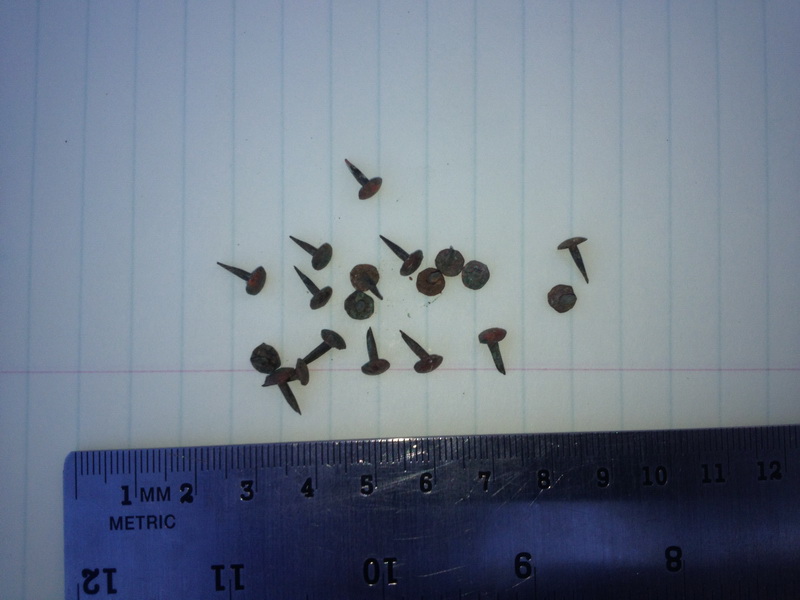
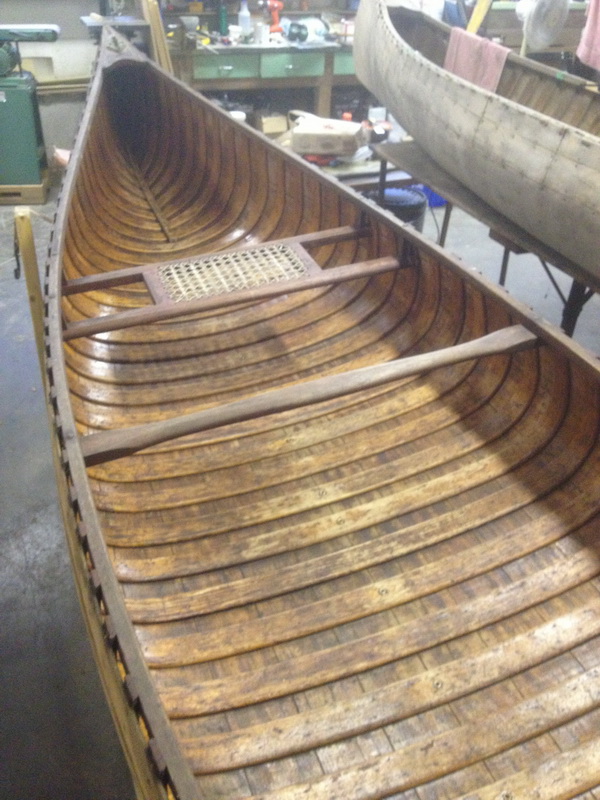
 This is was my my first experience with repairing a Greenwood canoe. On starting the repair, two things immediately struck me: First, was the tiny tacks used to attach the canvas to the stems. Understand this is a later model Greenwood, probably 70’s or late 60’s. Canoes of this era were customarily built using staples to attach the fabric, and often not stainless staples at that. The stem of the greenwood held dozen’s of minuscule tacks that had been laboriously hammered in place using a good old fashioned tack hammer. The second thing that struck me was the smell in linseed oil. Although this canoe was 40 plus years of age, the smell of linseed filled the air the minute I started pulling things apart. When this canoe was built, Bill Greenwood must have positively soaked it in linseed oil. This is most certainly one the main reasons this canoe had stood the test of time so well. The only rot I found in the entire canoe was, typically, at the very tip of the stem band
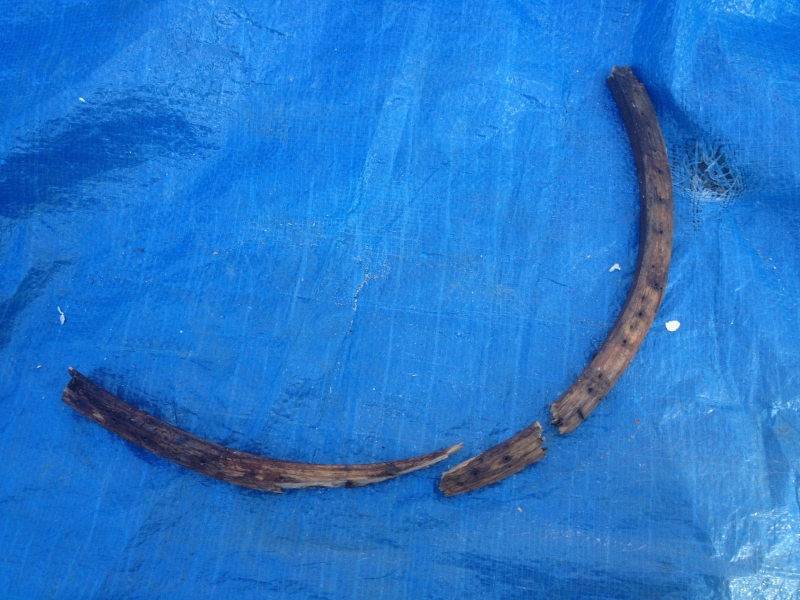
 The original plan of attack called for replacing the stem with an entirely new one. However, the damage to the stern was so extensive it was pretty much impossible to tell what the original stem line looked like. Also, the Greenwood is an asymmetrical canoe, so I couldn’t simply take a line from the bow end. I therefore painstakingly re-built the original stem from the exiting pieces, laminating wood in and reinforcing it as required. I then attached the repaired stem to the remaining portion with a long dowel and reinforced it with two strips of aircraft plywood and class filled epoxy. One lesson I’ve learned from this repair is to collect every fragment possible when something like this happens. You never know what you’re going to need.
 With the stem now in place, I was able to repair the ribs. Three of them I was able to “rebuild” in the same manner I rebuilt the stem. The fourth rib I scarfed a new end onto. This I steamed in place, using a kitchen kettle, and some old widow sash weights to pull it gradually into shape.
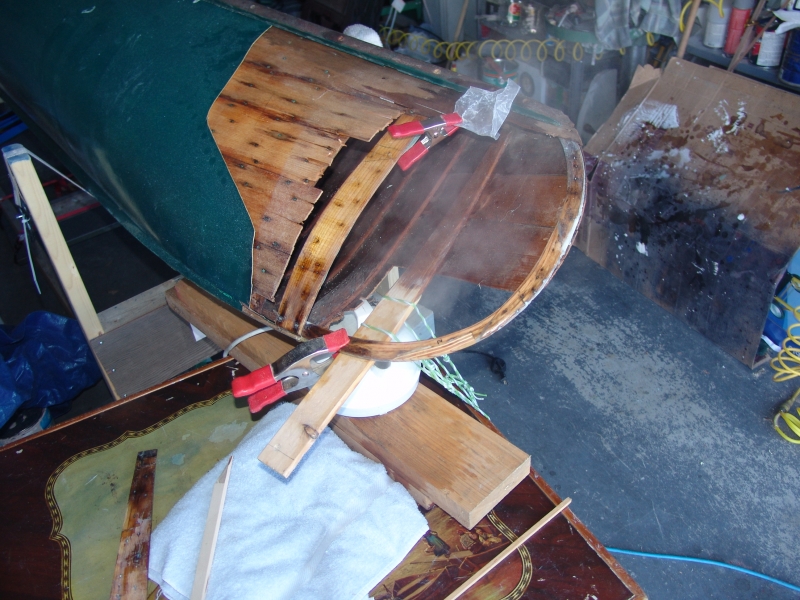
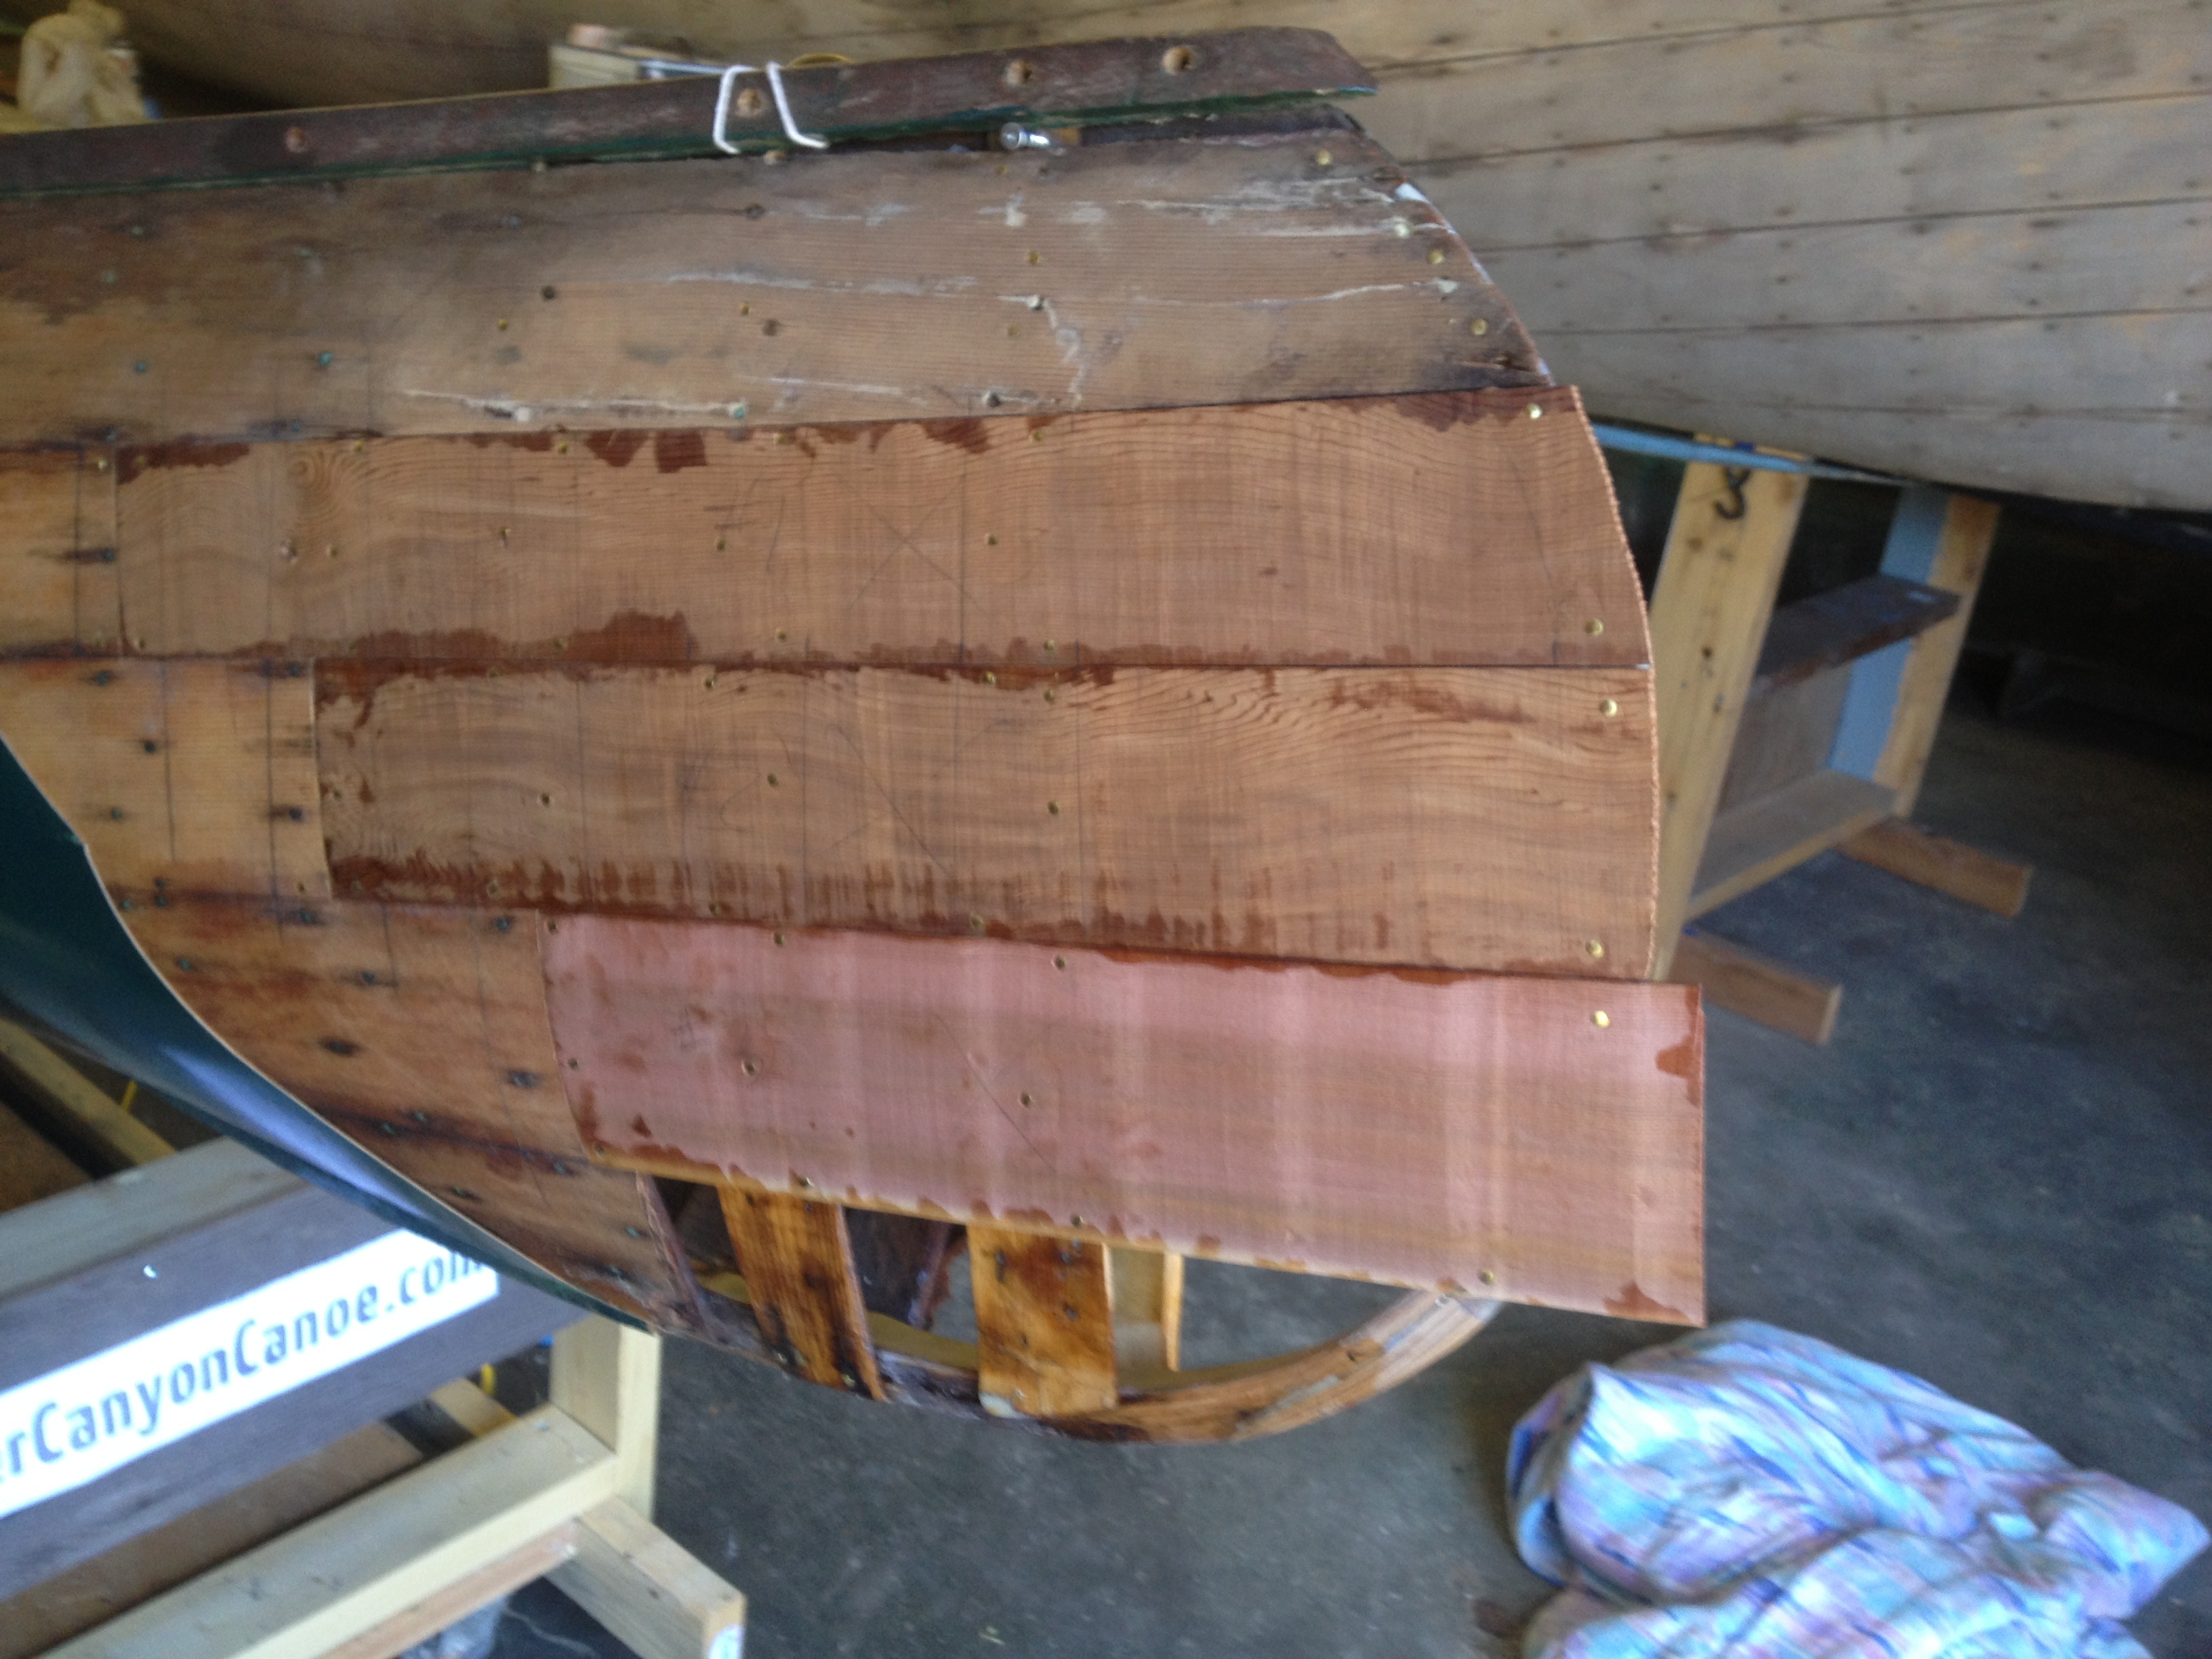
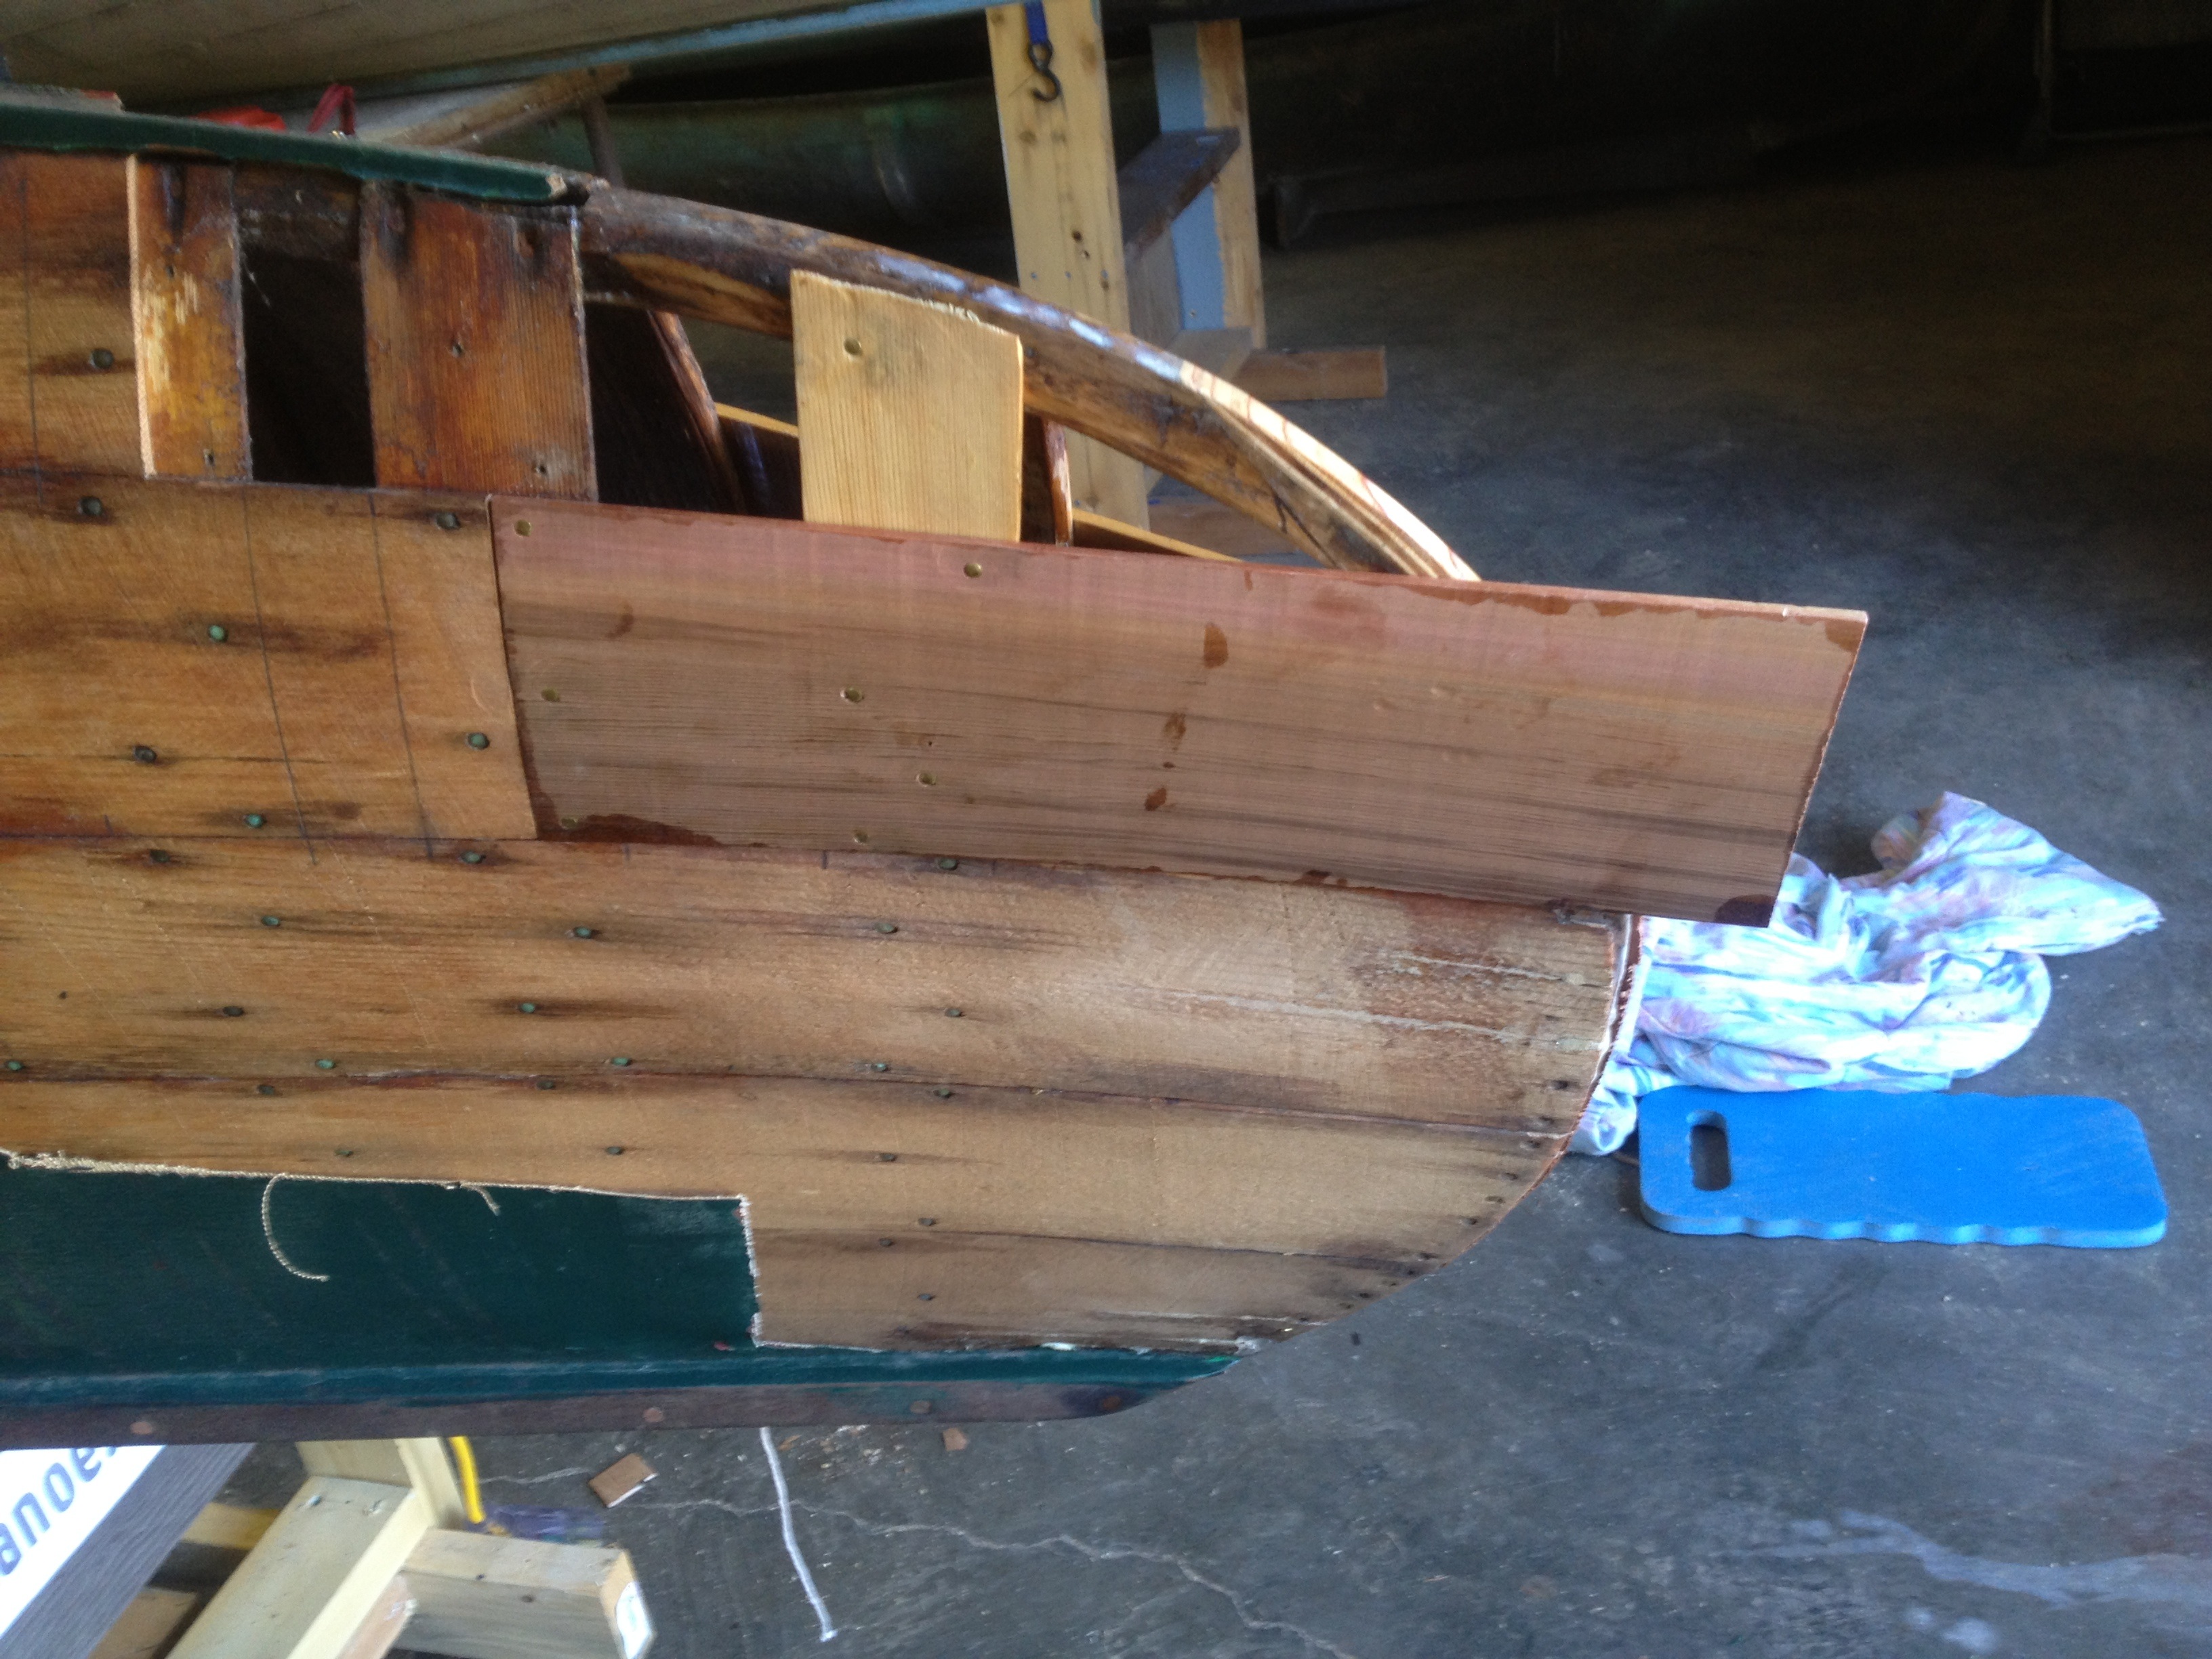
 The next challenge was the Greenwood’s tight planking. The Greenwood uses “tight” planking and, I have to admit, I was a little daunted by the quality of workmanship. Could I match it? As I was able to save some of the top planks on both sides, I chose, instead of planing in the usual fashion from bottom to top, to lay the planks from top to bottom. This worked well, although the last plank got a little tricky and I had to use towels soaked in boiling water to fit them and a small cheater wedge on both sides to close one small gap.
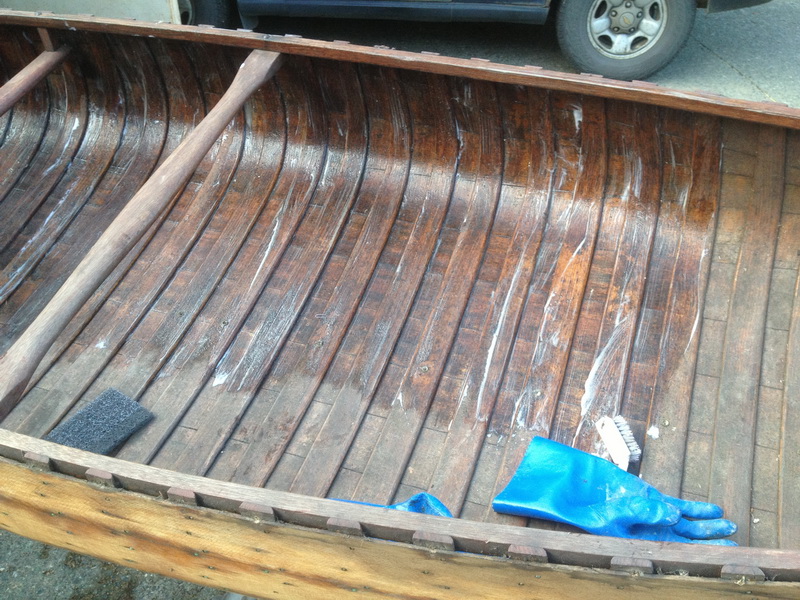
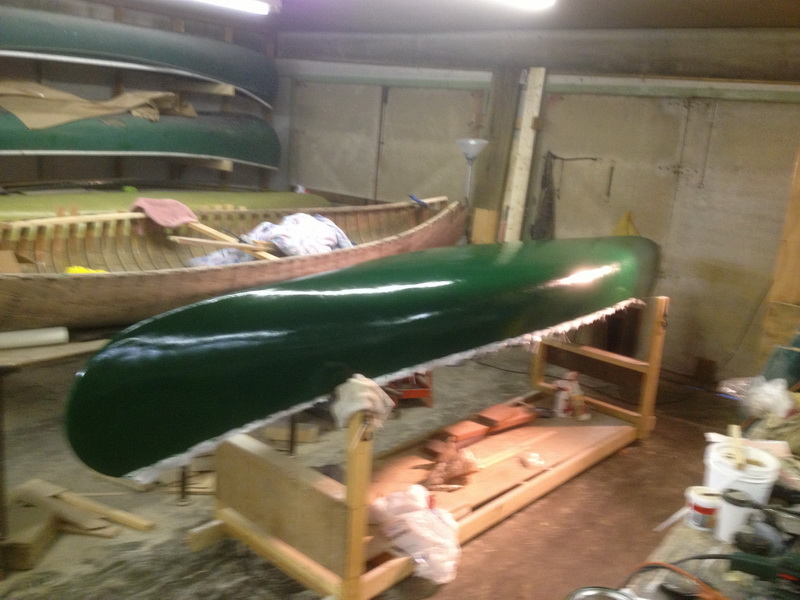
 The final step was to strip the old canvas and prepare the canoe for re-covering. Bill Greenwood was notorious for using steel screws and this proved to be the case with gunnel screws on this canoe. The slotted heads had been filled with some kind of putty that had to be picked out before I could even attempt to remove them. I will say however, whatever that putty was it was good stuff, just not very restoration friendly. Removing these gunnel screws was a chore to say the least, and several of them snapped of in place. However, once the gunnels and the keel had been removed I found a hull in almost perfect condition. No rot or damage what so ever. What a treat!