

Contrary to popular belief, canvas covered- canoes are rugged beasts. They are built to be used and, to some extent, abused. They are also designed to be “easily” repaired. One of the most frustrating aspects of repairing wood and canvas canoe is dealing with ill conceived and often poorly thought out field repairs, usually involving fiberglass and copious quantities of polyester resin. While I’m not a purist, frequently use epoxy, and sometimes even fiberglass in my repair work, there are usually better ways to repair common mishaps with cedar and canvas canoes.
Recently I came across a marvelous article on planking shim repairs written by Glen Toogood of Garden Island Canoe and with his permission I’ve adapted it here.
OK, I’m going to discuss planking shims, an easy but neglected aspect of wood/canvas canoe maintenance. The theory is, if there’s broken planking or sheeting, you need to keep it tight as possible against the canvas to minimise the possibility of it getting punctured or ripping if if gets caught on an obstruction.

As comfortable as an old pair of shoes. You were with them when they received each scar, and you mended them as well as you could.
A well used canoe, well shimmed and ready to be patched on the outside. In the Spring is a good time to do this, before patching and painting.

Planking busted right out. The skin is very vulnerable to being pierced

Using a sharp utility knife, carefully score the planking through to the skin flush with the rib.
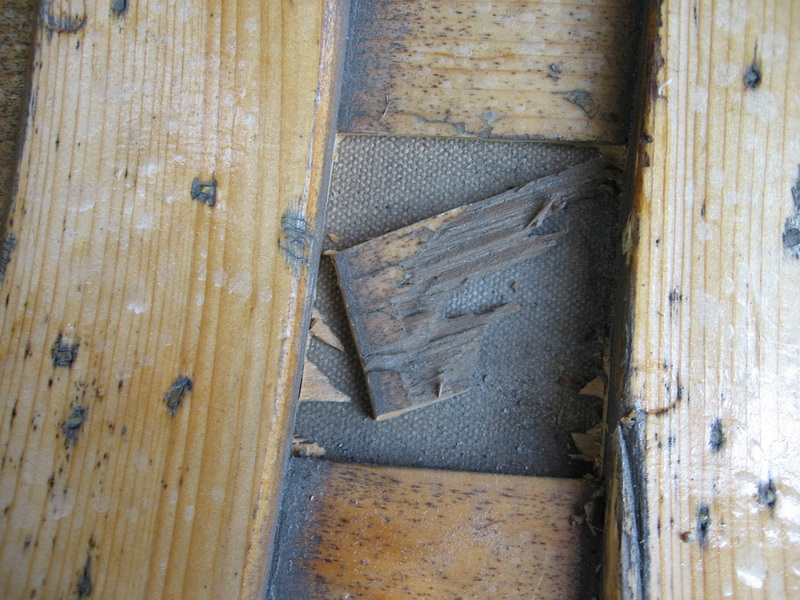
Square off the hole.
Measure a piece of planking so it will sit flush in the hole. If you are doing this on trip, you’ll have to get inventive with the whittling.

OK, this step isn’t absolutely necessary, but it can be handy. A little bit of this stuff goes a long way, and it actually likes dampness, it helps it cure.
Fill the hole. It’s easier to do it with several narrow pieces, especially in the curve of the ribs. And they curve everywhere.

About the width of your pinky.

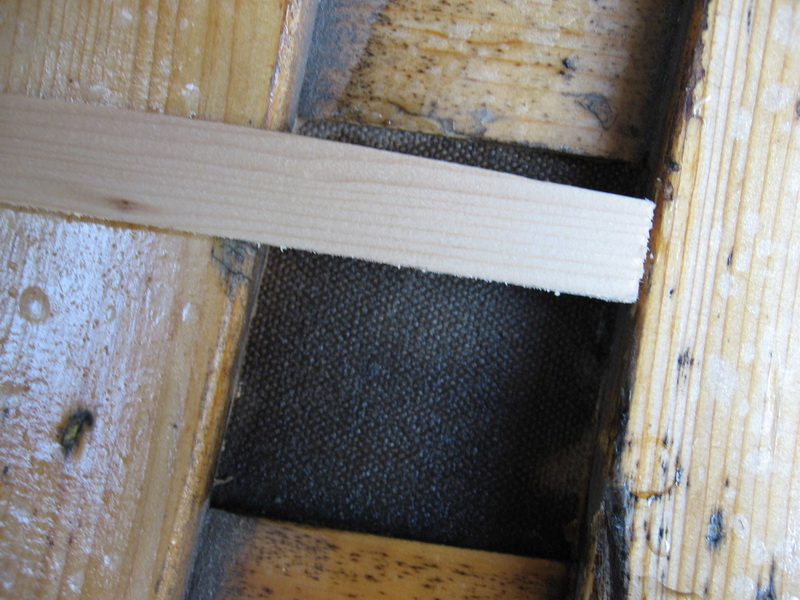
Now add a layer of shims to hold the bottom layer in. Don’t just count on the glue, if used. These shims should be slightly longer than the width between the ribs. Feather them out well.
NOTE: It looks like the shim is beveled underneath. It’s not, it’s just the angle of the shot. You are actually seeing a bit of the underside of the shim, in perspective. I shot these closeups with a short focus.

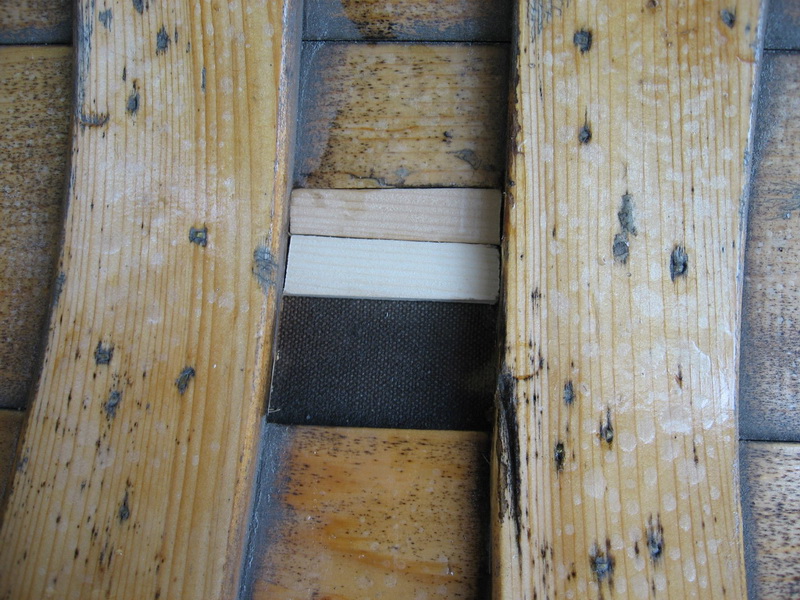
Carefully twist them in so that the ends catch under the ribs on both sides.


Completely cover the bottom layer. Glue should not be at all necessary if this is done correctly. Besides, you might need it elsewhere.

This is more common broken planking. Don’t remove it.

Bash it down flat. Cut the end a little if necessary.

As before, cover the damaged area with shims.

On trip, you won’t have the convenience of having planking stock, so you’ll have to get inventive.

Cut a twig to length, and either split it or whittle a flat side.

As before, feather the ends

Twist it in.

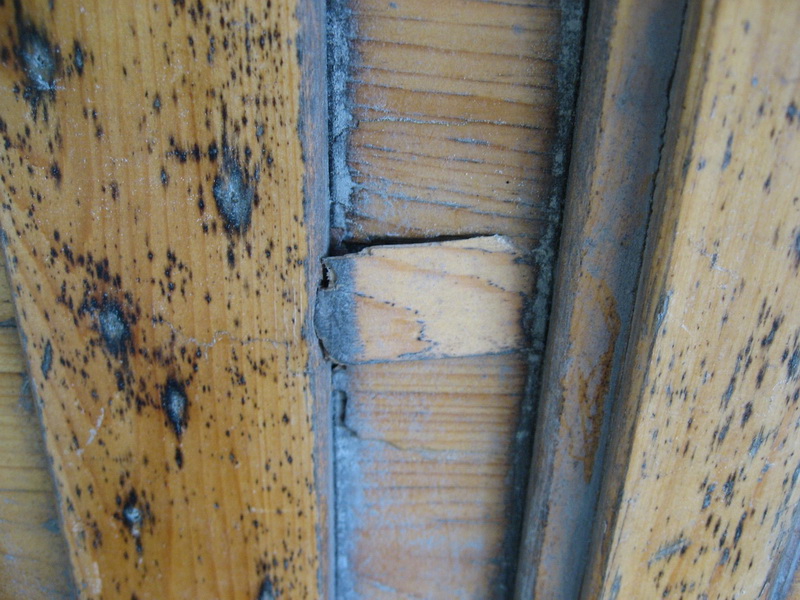
Somebody did some fancy whittling. Nice job!


An old shim, whittled from a split down piece of firewood.

